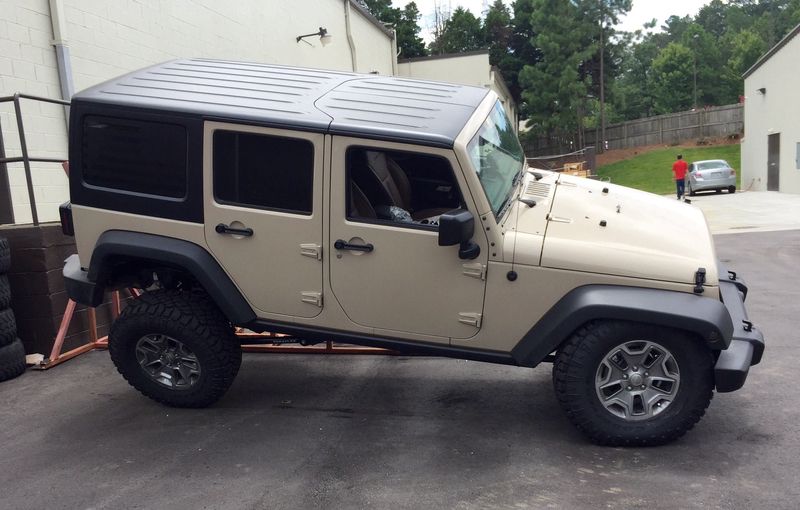
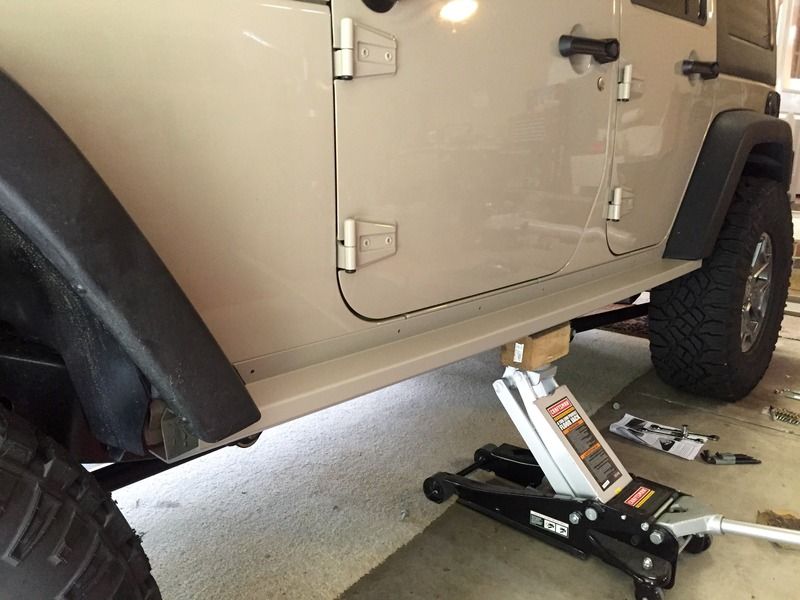
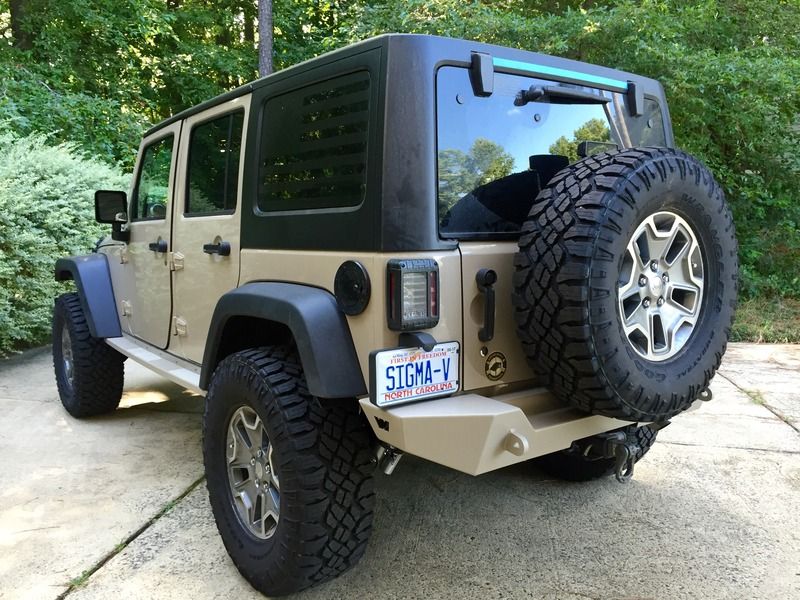
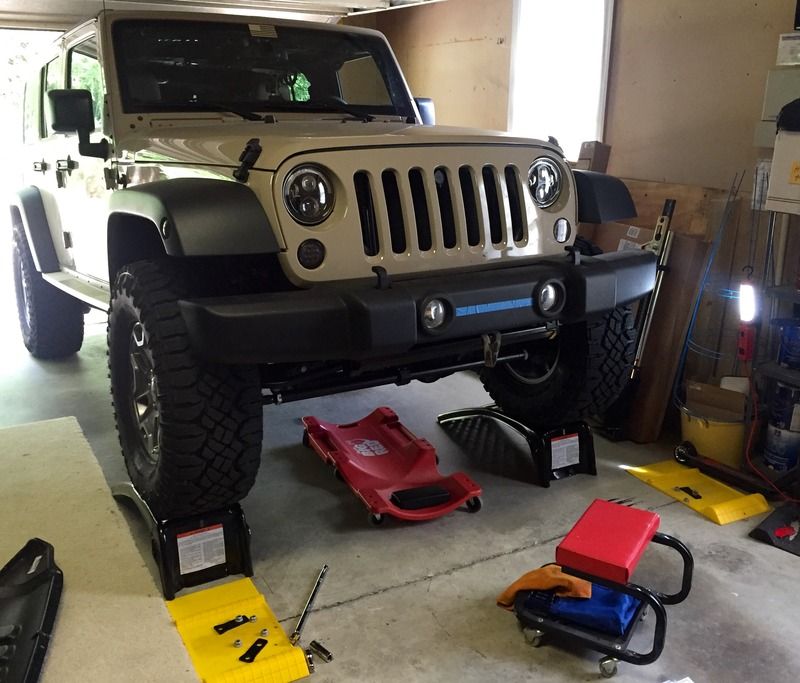
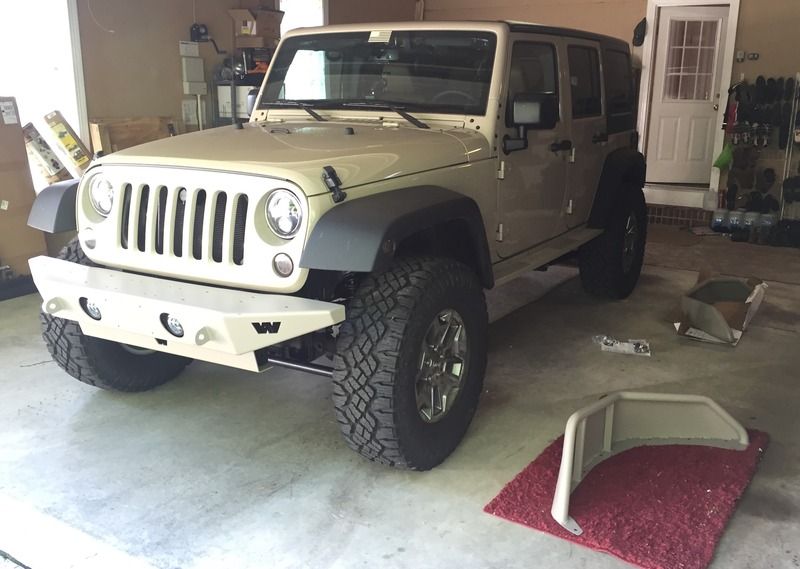
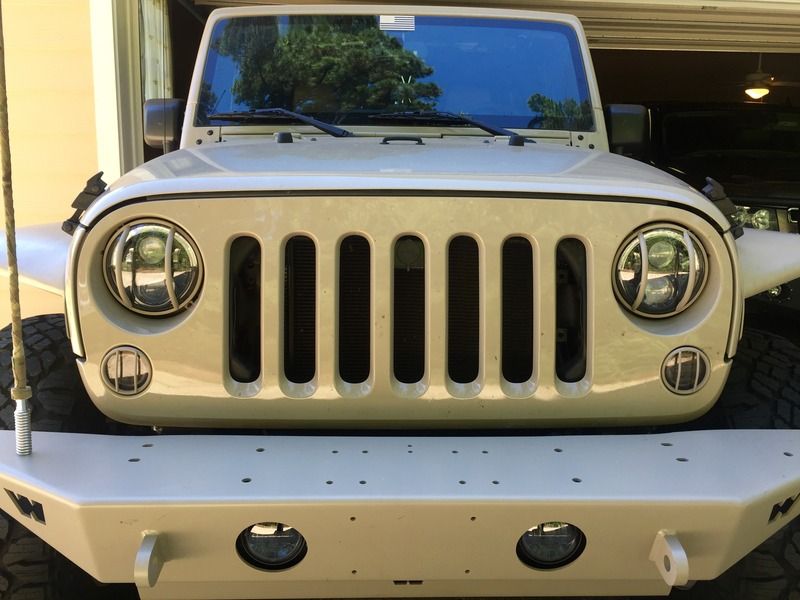
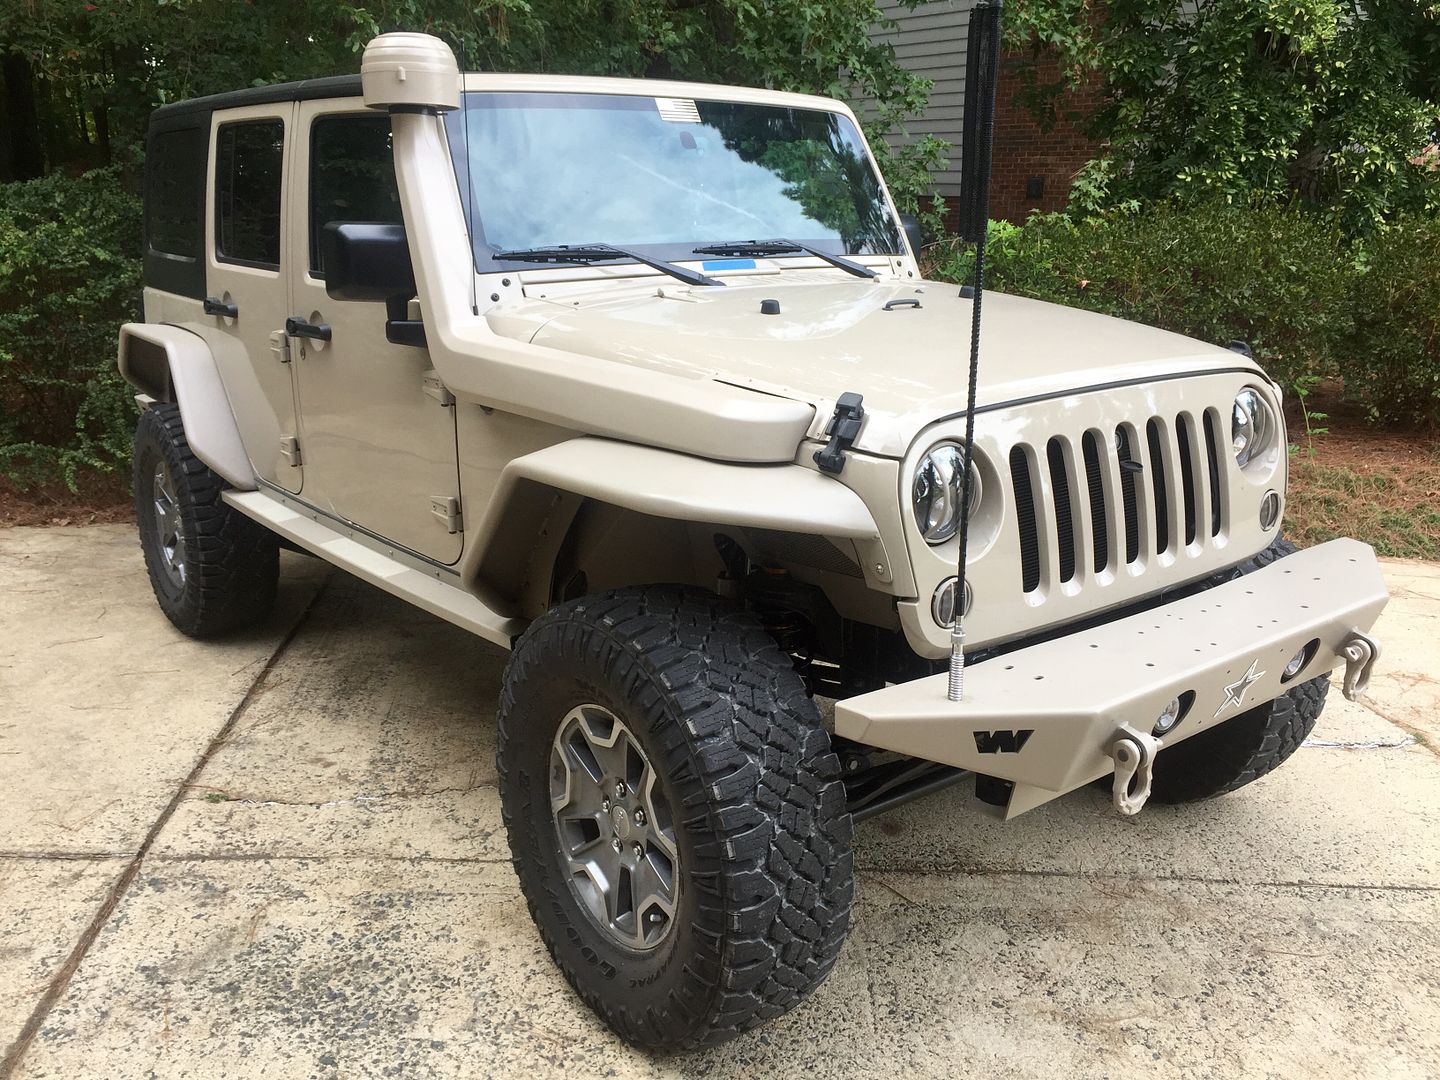
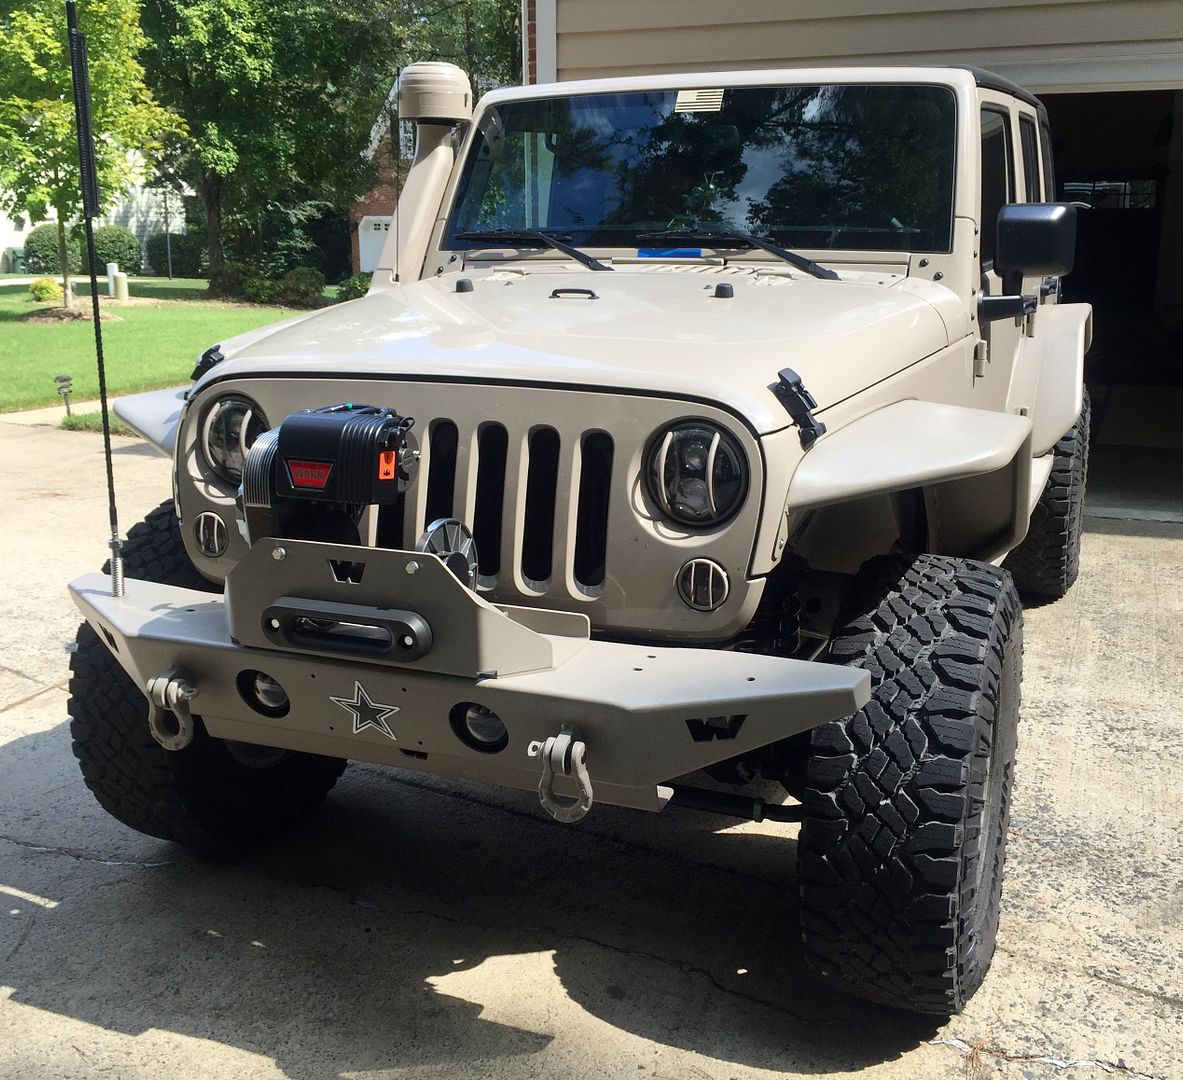
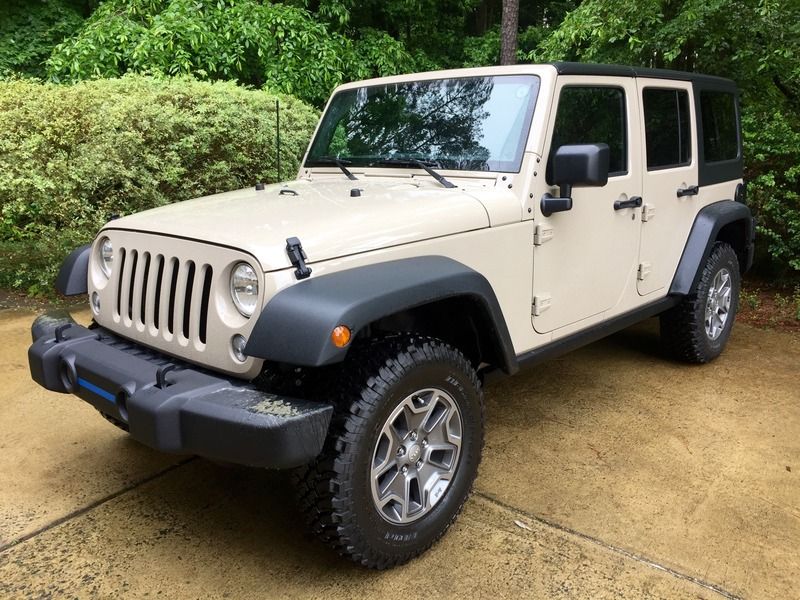
Started installing the first of the color matched parts. I did them all in flat Mojave Sand instead of shiny clear coated. I chose the Teraflex rocksliders because it has the wide step. It helps keep obstacles away from the truck and the wife has somewhere to step on when getting in.
I'm aware that it accumulates crap on there but it's primarily a daily driver, so I'll clean it off the few times I get to hit the trails.
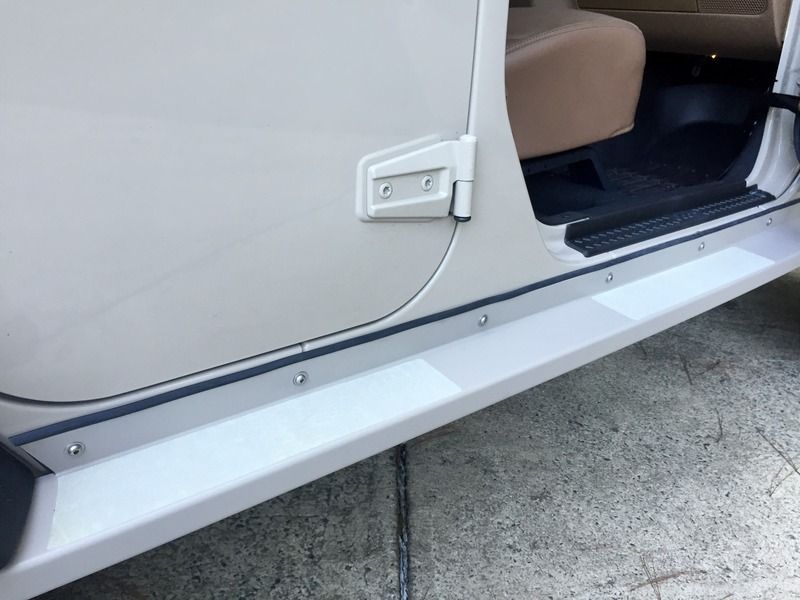
I added some clear skateboard grip tape to make getting in less lethal on wet days.
...
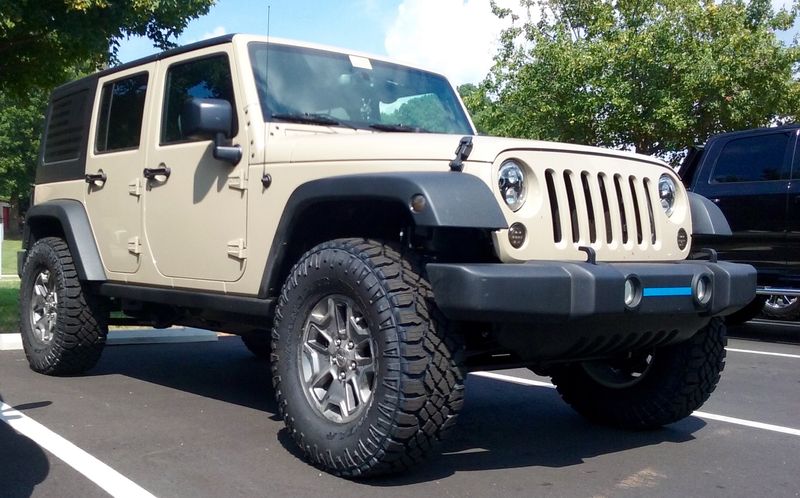
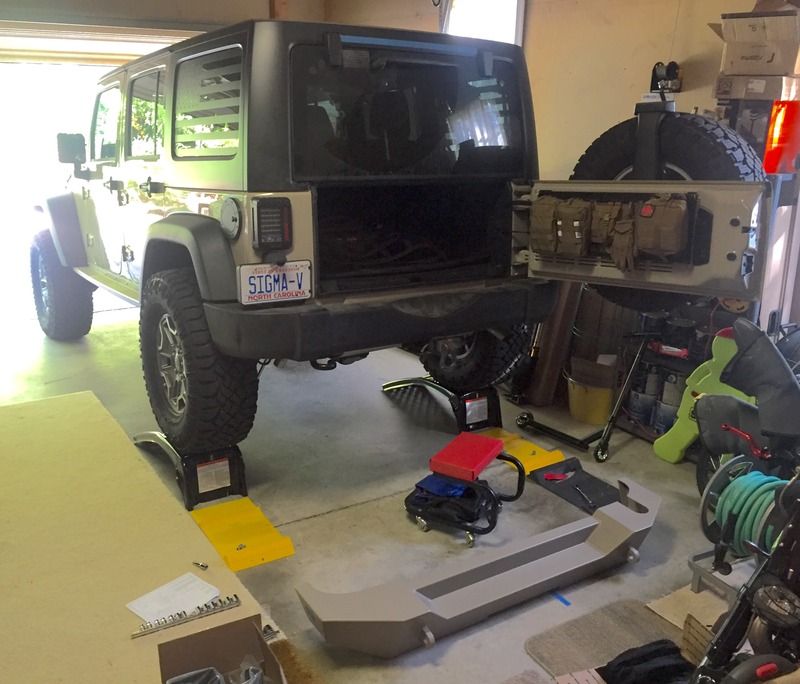
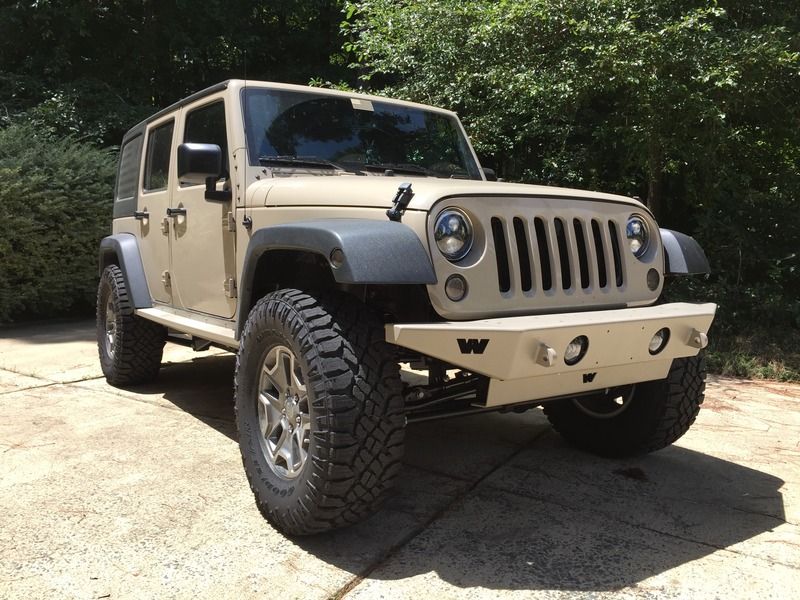
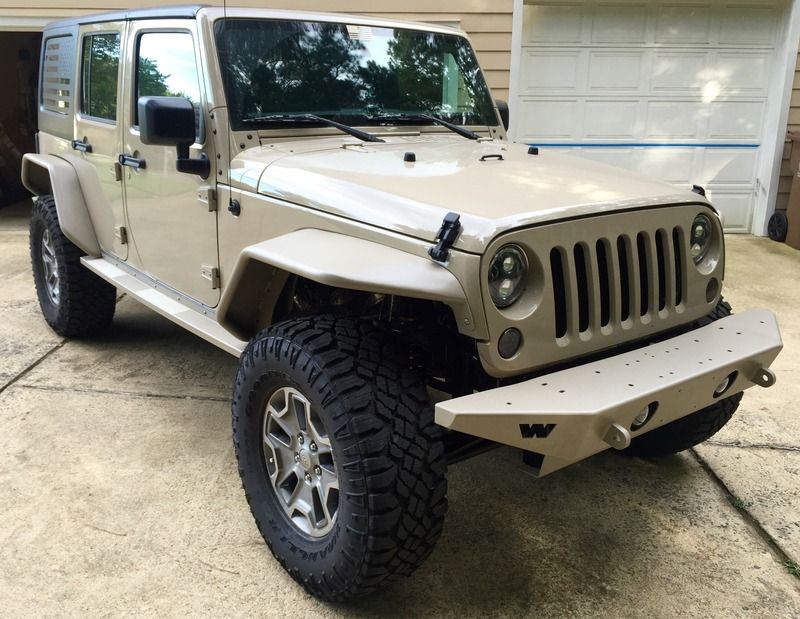
I like how it's starting to look. Can't wait to get the other color matched parts. Later down the road I'll also do the hardtop.
you'll wind-up being surprised, I think; I have run these for a few years & not only are they much, much more resilient to damage than the reputation garnered on other forums but they are lightest things around at 7lbs a piece?
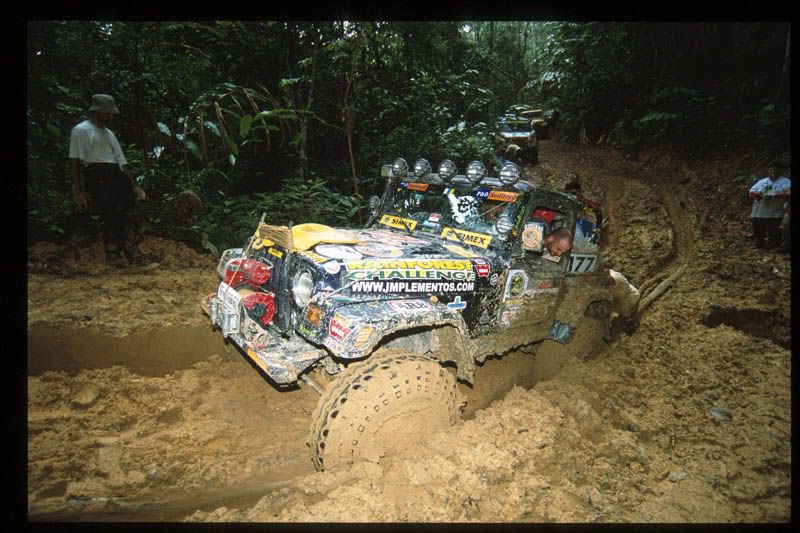
I will attest that I see lots of gravel,rock & mud (
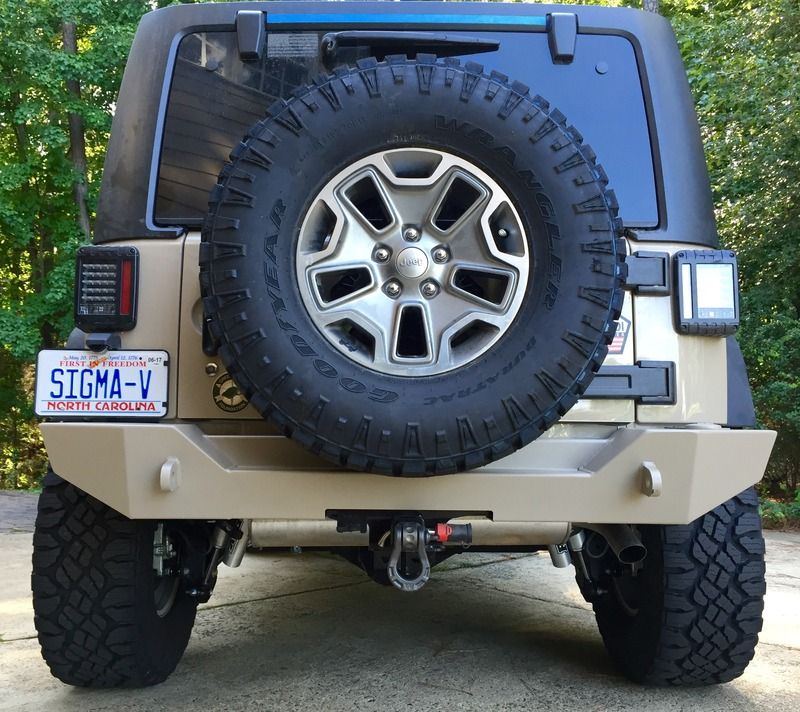
unfortunately I cannot always avoid that last condition) and I rarely get anything accumulated on the actual step ; however, it collects heavily in the little cubbies created where the back inside of the lowest of the fender meets the slider will get a bugger-basket-full of bloody slog . It is only of concern to anyone not pleased with rocks caught between the slider and the body because those pebbles just grind away at the paint when they are at the bottom of a small pile in that location
I am so used to this that I forget. I will go down and take a current picture for you of my Jeep as it sits in the garage right now ; I will bet it has a collection of debris in the spots I am talking about.
you could put some RTV or silicone in spot I am talking about and it would prevent the scuffing from small rocks but nothing is gonna prevent the gathering of debris I am referencing .
Other than that small thing they are great :jeep2:
<edit: btw, your slider paint job , like your Jeep, is looking great.

 Stay tuned as parts come in and I start to build it up.